-
 Conwy Marina Conwy, North Wales, Wales
 -
 Deacons Marina River Hamble, Southampton, England
 -
 East Cowes Marina East Cowes, Isle of Wight, England
 -
 Haslar Marina Haslar, Portsmouth Harbour, England
 -
 Penarth Marina Penarth, Cardiff, Wales
 -
 Portishead Marina Portishead, Bristol, England
 -
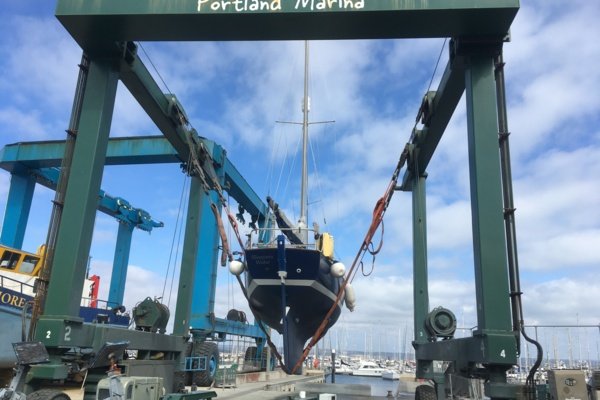
 Portland Marina Portland, Dorset, England
 -
 Rhu Marina Rhu, Firth of Clyde, Scotland
 -
 Royal Quays Marina Royal Quays, North Shields, England
 -
 Weymouth Marina Weymouth, Dorset, England
22nd March 2021
boatcare How-To: Service your Blakes Sea Cocks
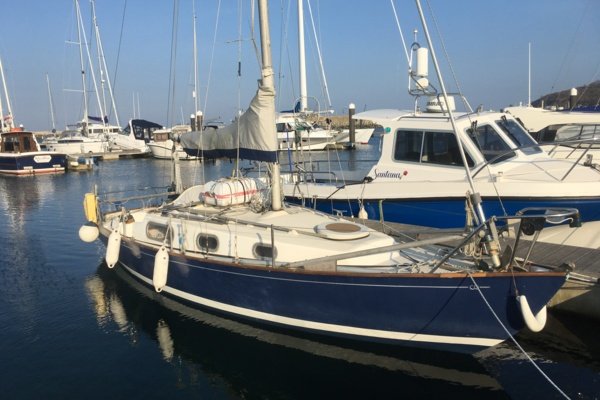
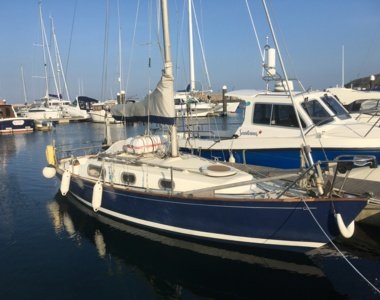
Assistant Marina Manager, Bee, has a Contessa 26 which has three Blakes sea cocks installed. She bought the boat in 2010 and, aside from smearing some grease around the collar from time to time, she hasn't touched them at all during her ownership. In this post she explains how and why you should service your sea cocks.
Whilst the boat was in the yard for her annual winter spruce up, I had a conversation with my Dad, an experienced sailor and engineer that went something like this;
Dad: How's the job list going?
Me: Good, anti-fouling's nearly done, the anode has plenty of life left, the engine barely got used last season so I've given it a quick check over. I think we're all good to go for bits that need doing on the hard.
Dad: OK, what about the sea cocks?
Me: Erm, what about the sea cocks???
Dad: When was the last time you serviced them?
Me: Uhmmmm.... ahhhhh... well....
I have to admit, I felt a) a bit foolish because I didn't know I should have been doing this and Dad had never mentioned it before and b) somewhat daunted at the prospect of taking a thru-hull fitting apart. So following this conversation with Dad, I popped in to see our boatcare Manager, Lee, and asked his advice. He gave me a run down of how to service the sea cocks which I've shared below. More importantly though, he reassured me that it was simple and quick to do.
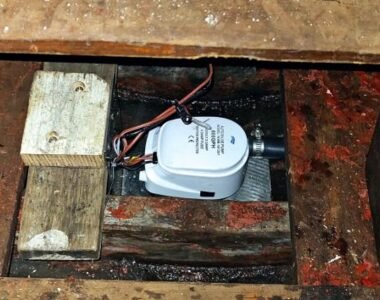
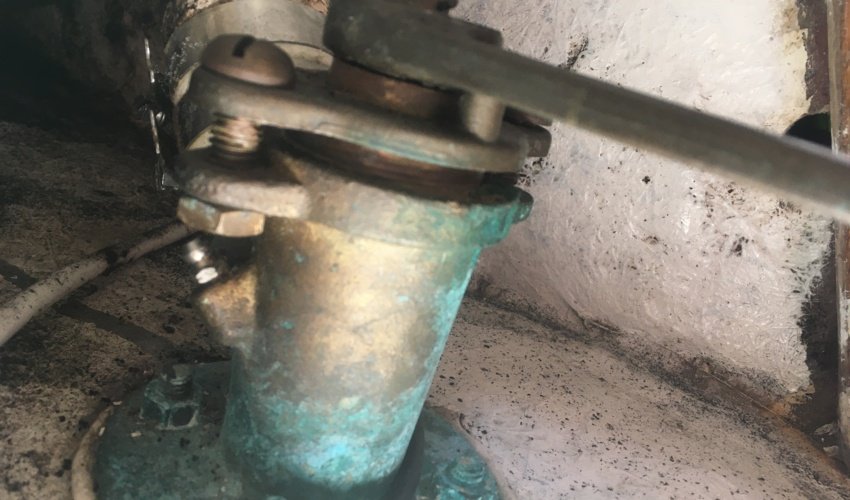
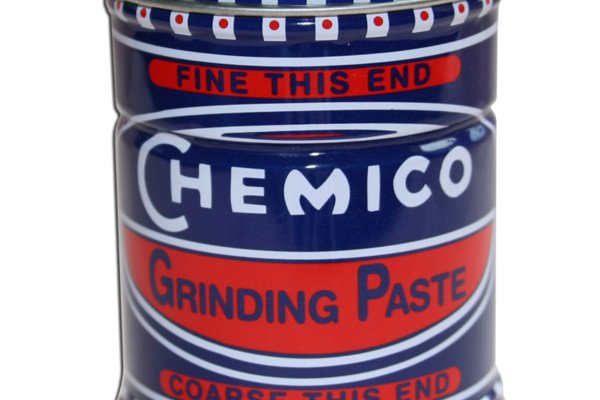
First of all, it's important to differentiate between a ball valve fitting and a tapered cone sea cock, here we're talking about the latter. There are various manufacturers of tapered cone fittings, with Blakes possibly the best known, but which also includes Spartan, Groco and Wilcox Crittendon. Made of bronze, these sea cocks are robust and, looked after properly, will last for years. I think mine might even be the originals fitted to the boat when she was built in 1973!
Tools and materials
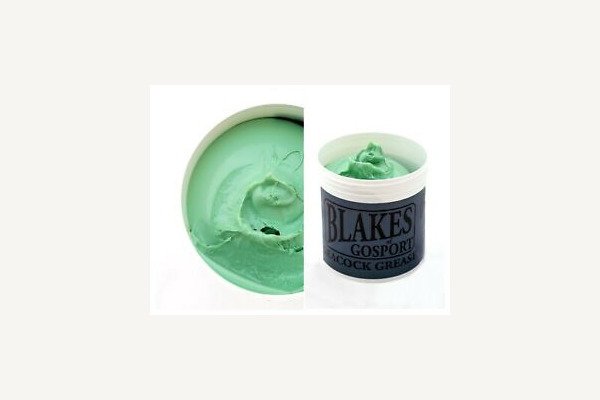
It's likely that the nuts and bolts on your sea cock are imperial, mine took a 5/8 spanner. You may also need a flat head screwdriver (more on this later) depending on your bolts heads. To clean the cone and the body, you can use valve grinding compound in coarse then fine, or fine sandpaper. Don't use a wire brush as bronze is relatively soft, although you could potentially use a bronze brush. Lastly, you'll need some clean rags and a pot of grease. Calcium based grease has the best water resistance properties which will help preserve your sea cocks for longer. Blakes sell a specific sea cock grease which is delightfully thick and gooey and perfect for the job. Should you have trouble getting the valve apart, you may need a mallet and piece of reasonable sized dowling of a size which will fit from the outside up into the fitting to gently 'persuade' the cone to eject from the body.
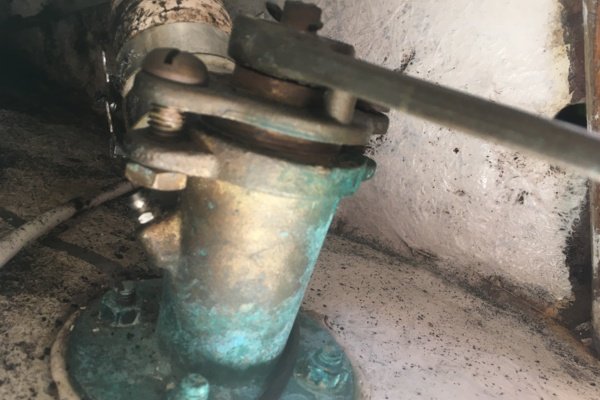
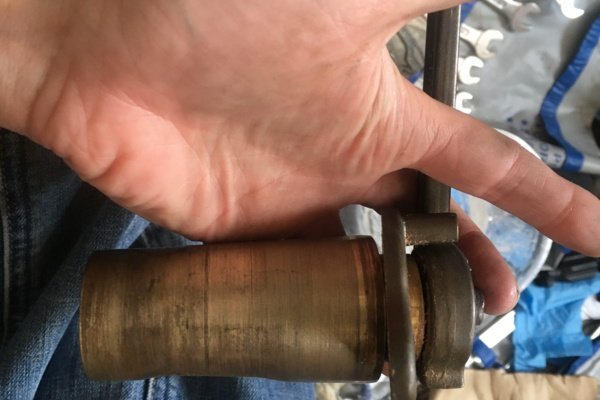
Dismantling the sea cock
The valve is held together by a collar which sits on the top of the cone and is held in place with two bolts which screw into the body and are secured with a locking nut. These shouldn't be horribly tight, otherwise the valve won't be able to move, so you should be able to get them off easily. The main issue here, depending on where your sea cocks are situated in the boat, is access. The first two on my Contessa are underneath the loo with little access room above or around them, the third is under the sole boards and, likewise, has limited space around it and is at an odd angle. Out of the three, one has hex heads on the bolts which were easy to get to with a spanner, whilst the other two have slotted round heads requiring a flat head screwdriver. There's no chance of getting a normal length screwdriver in there, so a stubby was required which I didn't have in my toolbox (I do now!) so I 'improvised' with a dinner knife...
Once you've got the locking nuts off and the bolts out, the cone should just pull out of the body with the handle and collar still attached on the top. I believe on some assemblies the collar slips over the handle, but it didn't on mine. Now it's time to clean it all up.
Cleaning the cone and body
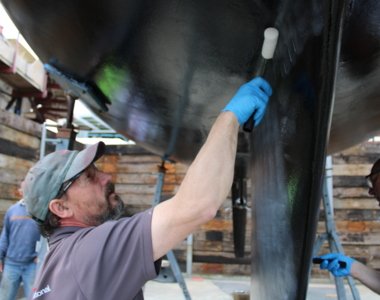
Once you've got everything apart, it's time for a good clean up. You're trying to achieve a flat surface between the faces of the cone and body to get the best seal, so you're looking to get rid of any minor pitting or corrosion which may disturb that seal. I ended up using a coarse, then fine, rubbing compound, putting a good blob of the coarse paste on the cone and moving it back and forth for a few minutes in the body making sure to move the cone a full 360 degrees until it became stiff and black paste oozed out of the top. I cleaned this all out and did the same again with the fine paste. This cleaned the two under the loo up nicely, but the cockpit drain valve had a lot more corrosion and muck on it, so I gave that a good rub over with a piece of 150 grit sandpaper taking care to keep the pressure even, which did the job. Before greasing them up and putting the valves back together, I gave everything a really thorough wipe and then cleaned it all with some white spirit to ensure there was no grit or paste left in either the body or on the cone which might make it stick or affect the seal. I also checked for any significant corrosion and gave a light sanding to the bottom of the cone so there were no sharp edges as apparently this can cause the cone to bind in the body when you refit and do up the bolts.
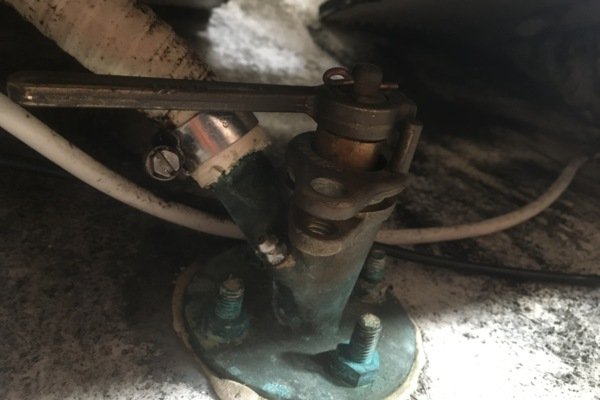
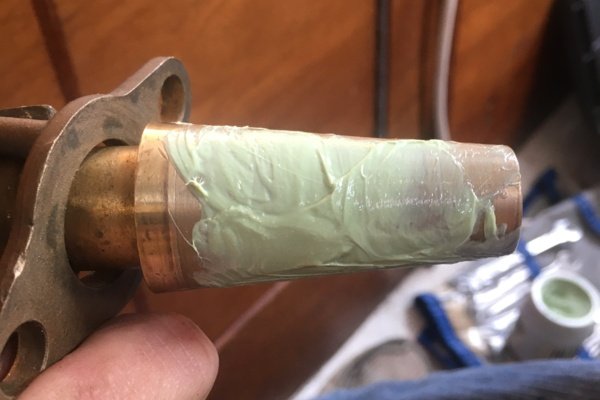
Refitting
Time to put it all back together! Smear a good blob of grease on the cone (Yachting Monthly recommend a 'spoonful') and pop it back into the body. Spin it around a full 360 degrees a few times to evenly distribute the grease and then line up the handle so it is correctly situated in the open or closed position (open = handle pointing away from the pipe, closed = handle lying alongside the pipe). Pop the bolts back in a do them up so that the collar doesn't jiggle about, but not so tight that the cone can't turn in the body, ensuring the bolts are tightened evenly. Screw on the locking nuts and you're done!
The morning of the launch I watched with my heart in my mouth as Jack lowered the boat back into the water. I have to admit I was petrified that I'd made a mistake and the water would come flooding in, but when I jumped on board and checked them, all three sea cocks were bone dry and leak free, phew! After a couple of days of paranoia and regular checks that the boat was indeed watertight, I finally accepted that Lee was right, servicing sea cocks is a simple job that even I can do!
Of course, not everyone wants to go crawling about in the deepest, darkest recesses of their boat so our boatcare team are also on hand to do the servicing for you, and any other jobs you don't fancy tackling! Find out more here.
Trouble shooting and tips coming up in the next post!